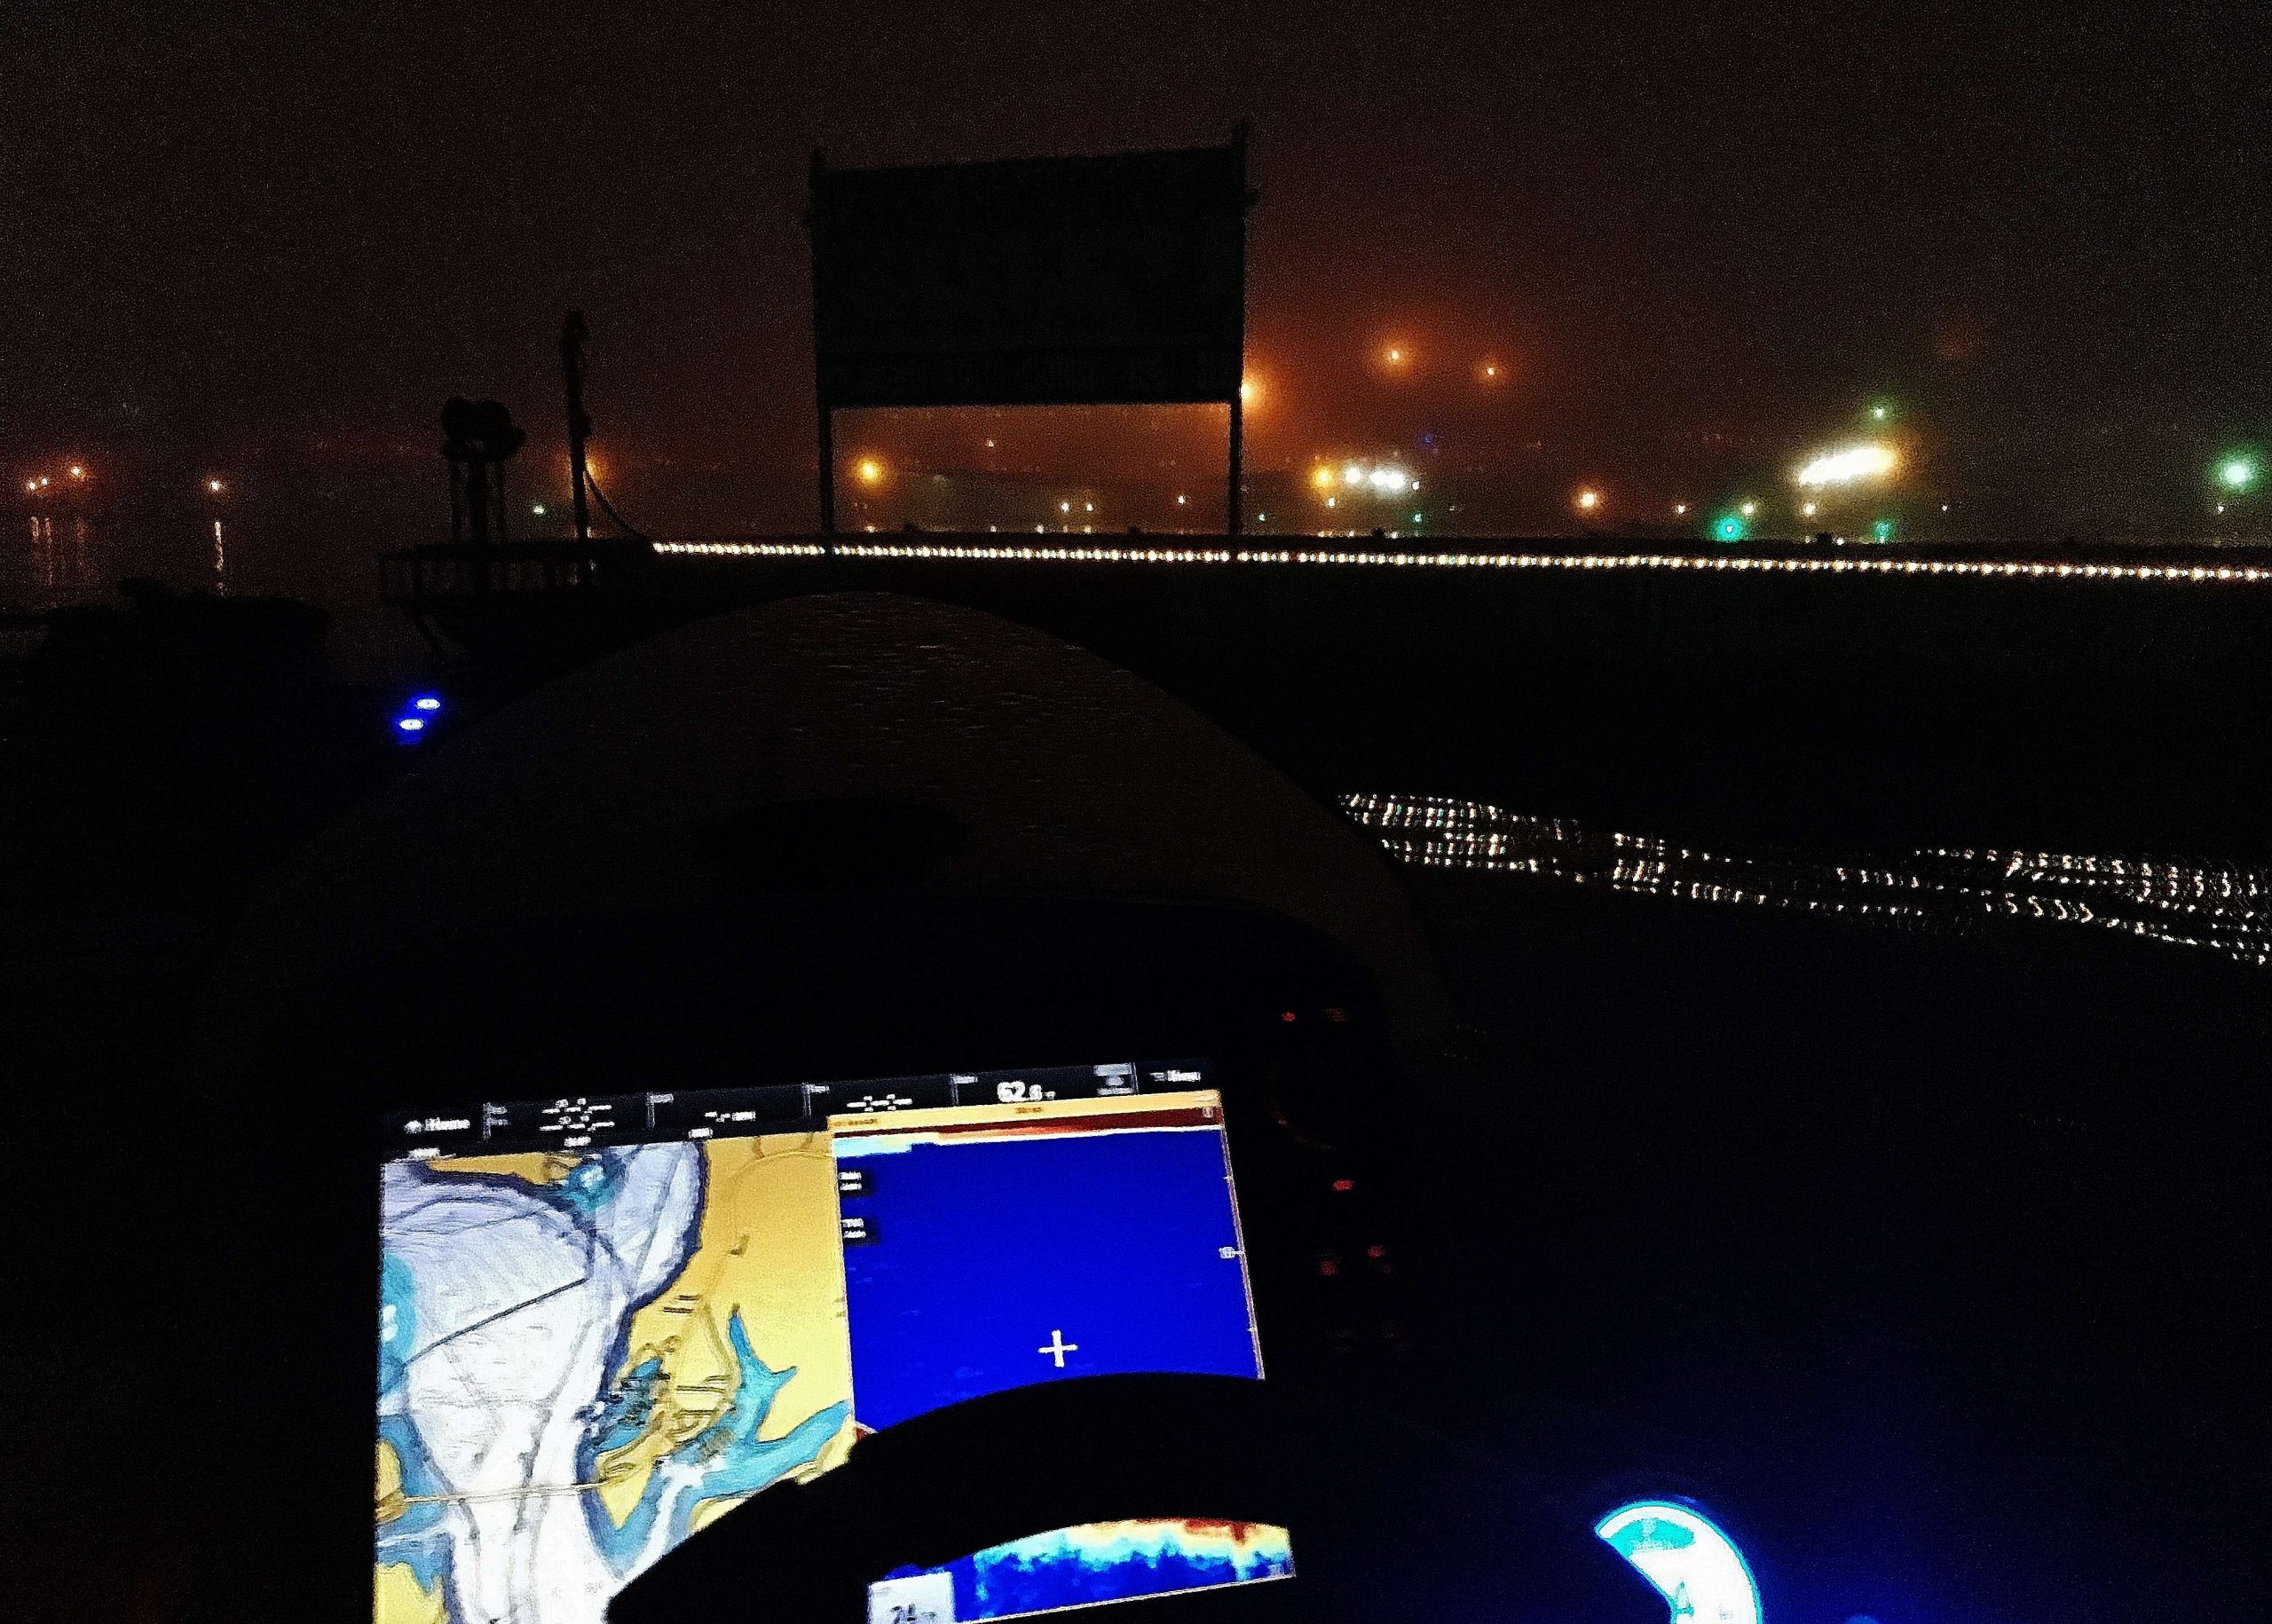
Getting the most from your electronics can be challenging … even for a touring pro. With all of their built-in functions and display options, it’s easy to get confused.
Just as it is with becoming a better angler, proficiency with electronics requires considerable time on the water. Even so, you can learn a lot just by sitting in your driveway reading the instruction manual or playing with the simulator.
That’s precisely how I figured out a quick and easy way for referencing key spots (or fish) I want to return to. Here’s how.
Iconic Imagery
On any marine GPS unit, there’s a page of icons (symbols), and depending on how sophisticated the unit is, there can be as many as 50 or more to choose from.
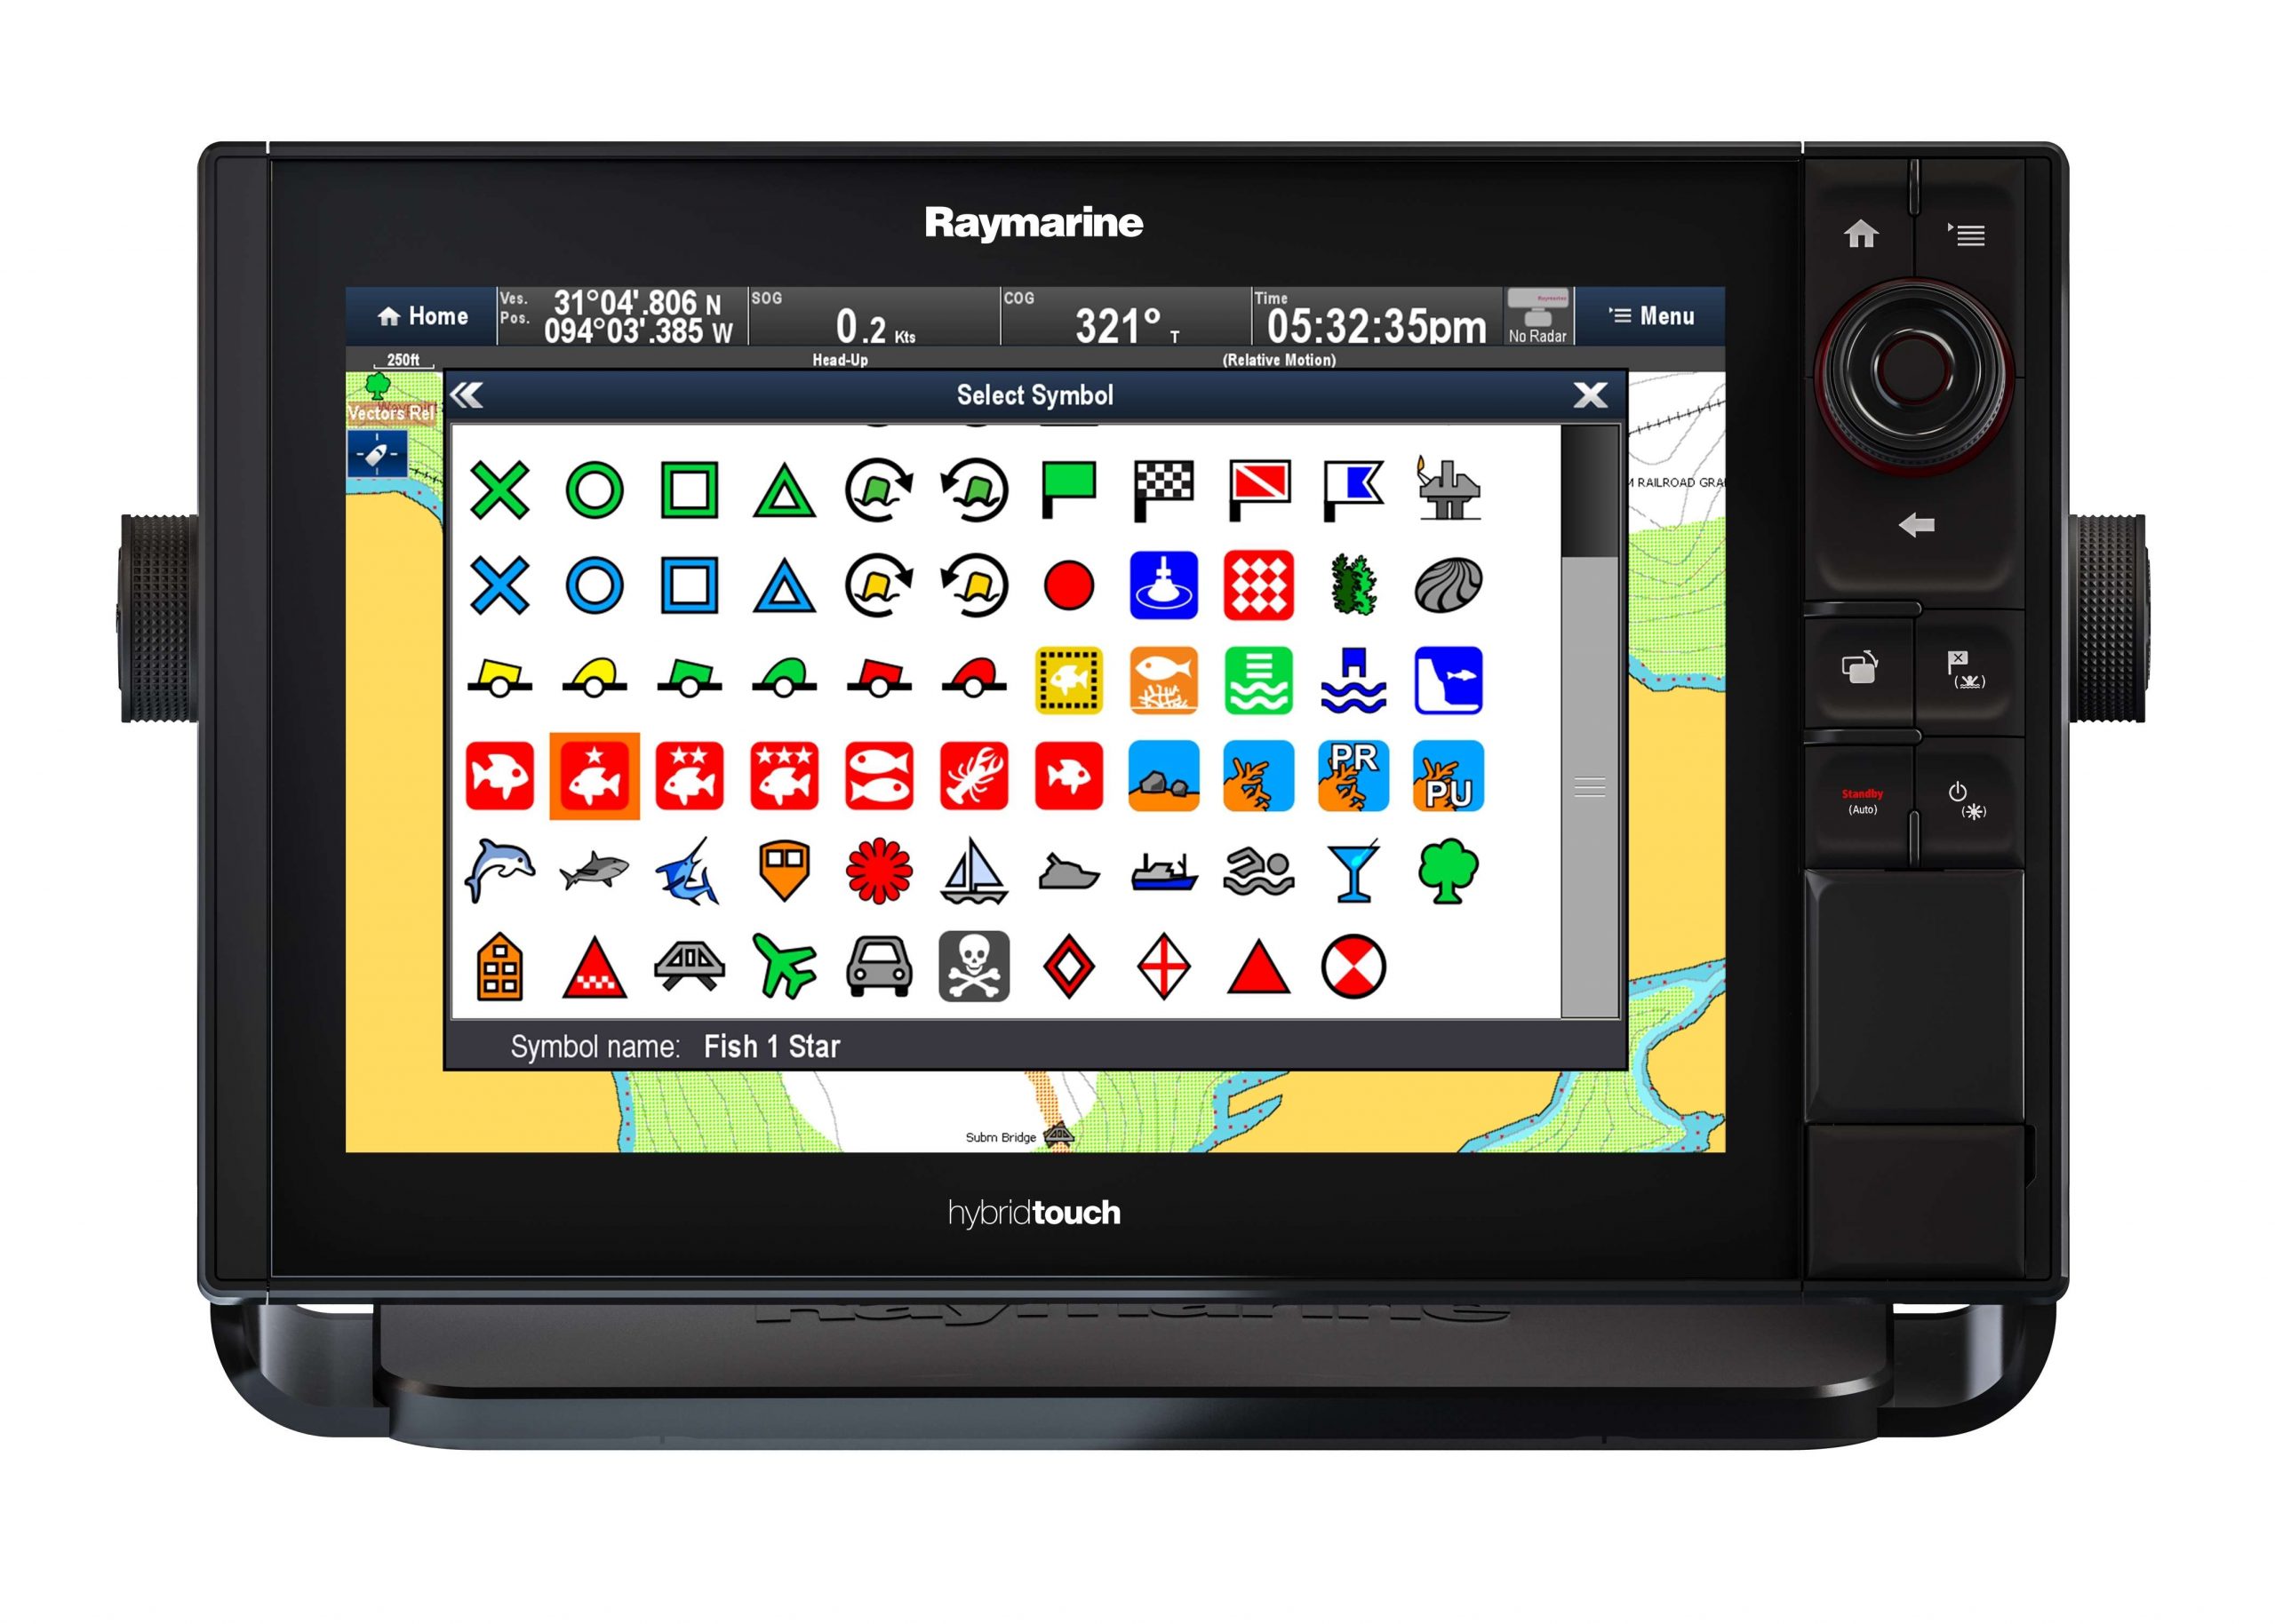
Most of these symbols are intended as navigational aids, for marking channels, buoys, hazards, fuel docks, etc. Others lend themselves more to marking places to fish. For the most part, they’re pretty self-explanatory. You just hit the waypoint button and a window will open asking if you want to save your location and which symbol to use.
The default symbol will depend on the brand or model unit you’re using. My Raymarine units feature a red “X” anytime I punch a waypoint. When the window pops up asking me if I want to save that location, included is an option to change the symbol. I frequently do just that. Here’s why.
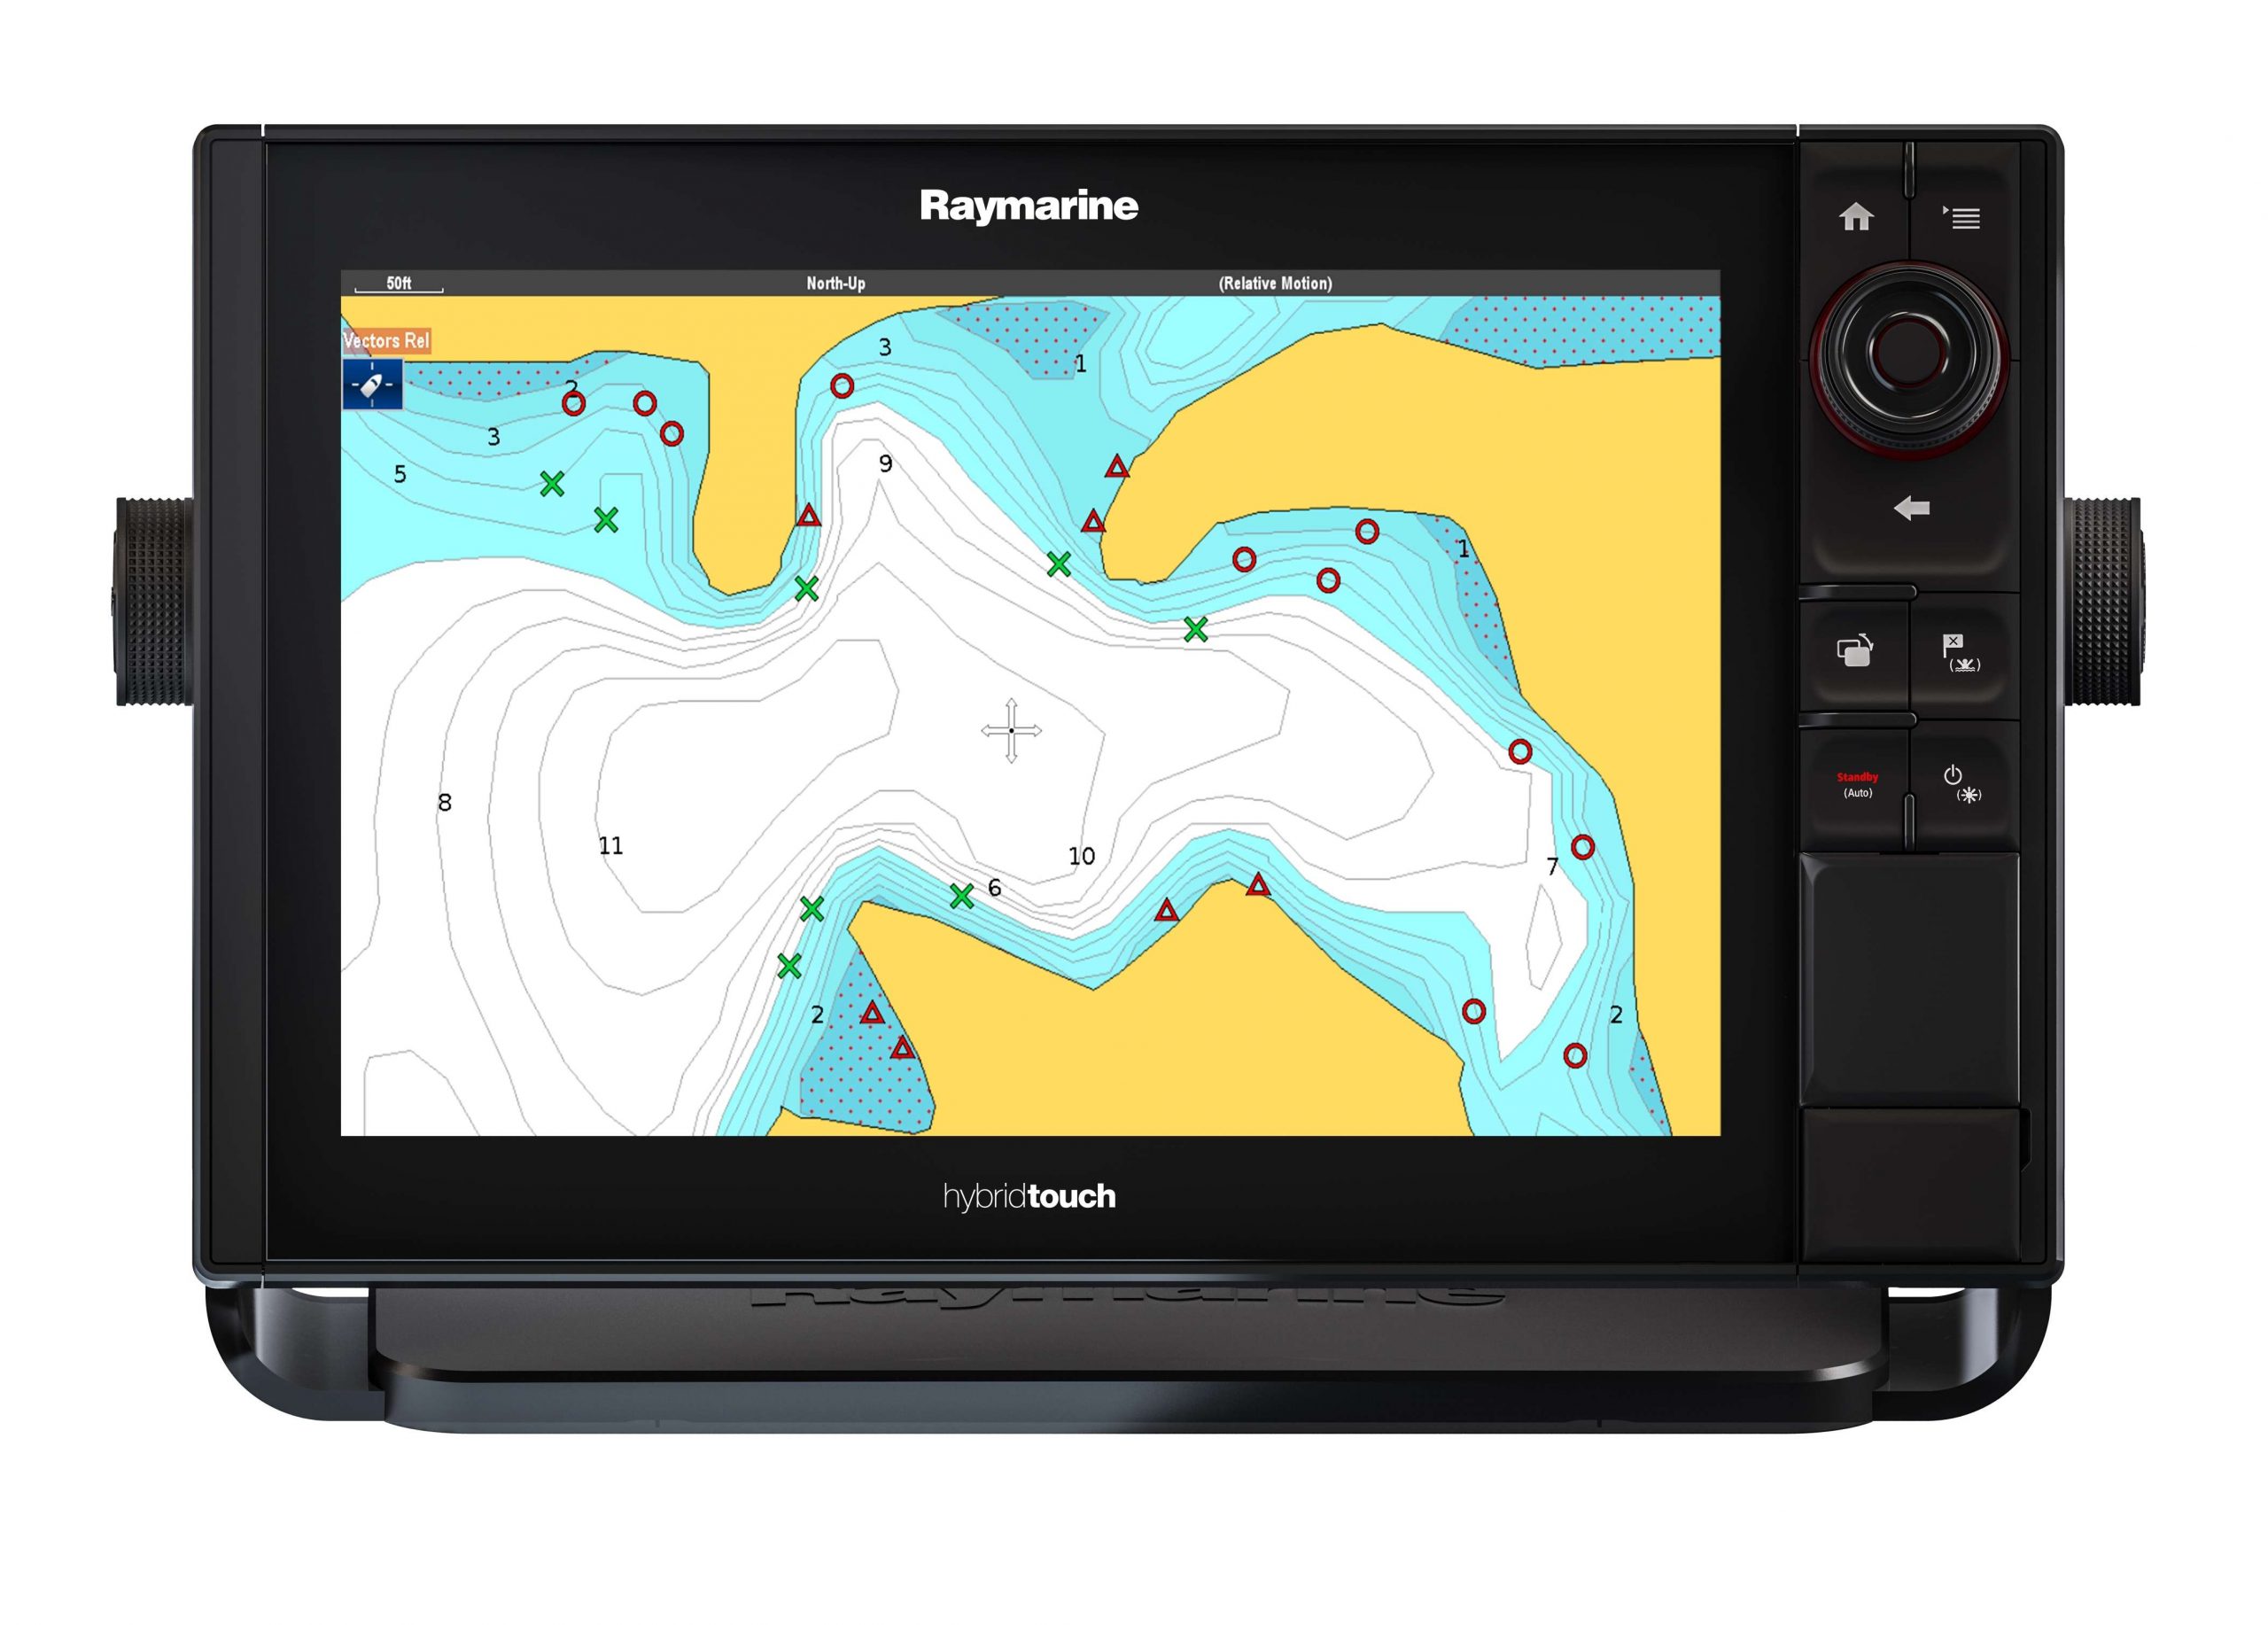
First, it’s a lot quicker to change a symbol than it is to type in a name or notation for the location. Although that capability has benefits, I rarely use it. Instead, I change the symbol to something familiar and consistent with other similar saved locations. In doing so, I’m creating an index of similar spots.
For example, say I’m marking bedding fish. By having an array of symbols to choose from, it helps me to separate them by size and/or type (such as largemouth vs. smallmouth). My eS-128 units also record the date and time the waypoint is saved, which reminds me of when I found them, such as Day 1 or Day 2 of practice, and so on.
That’s invaluable information to have, especially when you can see it at a glance.
Case In Point
This past season, when the Elite Series visited Bull Shoals and Norfork for the dual-lake challenge, the fish were in all phases of the spawn. Some were coming in while others were already set up. Still others were in the process of leaving. To complicate things, we were targeting three species of bass — smallmouth, spots and largemouth.
During the four days of practice, I marked 150 beds or more. To separate the fish by size, I used various symbols; likewise for species.
Obviously the bigger fish were my focus, but I knew others would find and mark them as well. When the competition got underway, I began running a set of symbols marking my best fish. If any of them disappeared or were caught by others, I simply moved to the next matching icon … hoping to find, say, another 3 1/2 pounder.
I marked 2-pound fish with one symbol, 3-pound fish with another. Anything bigger got a different symbol as well. I used different colors to record the different species. The reason? If the largemouth moved off the bed (which they did) I could focus on smallmouth or spots instead.
It made routing between bedding areas much more efficient. Even better, I used the same tactic on both lakes, and it paid off handsomely.
There’s nothing sophisticated about using different symbols as referencing tools. Anyone can do it. But it is effective for sorting areas and/or fish. And you can apply the same approach to other targets — brush piles, stump fields, shell beds, boulders and more. It’s a great way to organize then develop a game plan going into any competition.